


Product Description
These epoxy filleting bags are a quick and easy way to dispense thickened epoxy into the seams of your boat to create neat fillets. Stitch-and-glue boatbuilding usually requires several fillets running the full length of the boat, as well as around bulkeads, so having the right tool for the job is essential.
Using one of these filleting bags will help you to get the thickened epoxy out of the pot and into the boat, where you want it, as quickly as possible – before the pot of mixed epoxy gets too hot to handle. These conical bags taper to a sharp point for dispensing epoxy neatly and precisely, which minimises the work needed to smooth the fillets and clean up the squeeze-out.
You can use ordinary freezer bags, but make sure they are heavy-duty and high-quality – if the seams split, you'll have a mess on your hands.
These bags are 50 cm long and sold in packs of 20 bags.
Loading the bag
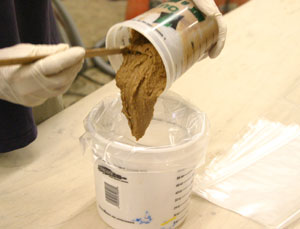
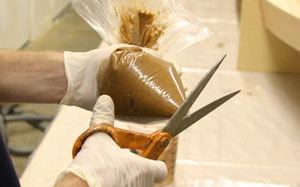
Use a clean, empty container to hold the bag as you transfer the thickened epoxy from the mixing cup into the bag. Roll up the open end of the bag and work the epoxy down into the corner. Snip off the tip with scissors. A hole about 3 mm (⅛″) wide is best for filling lap joints and about 6 mm wide for filleting.
Filleting with the bag
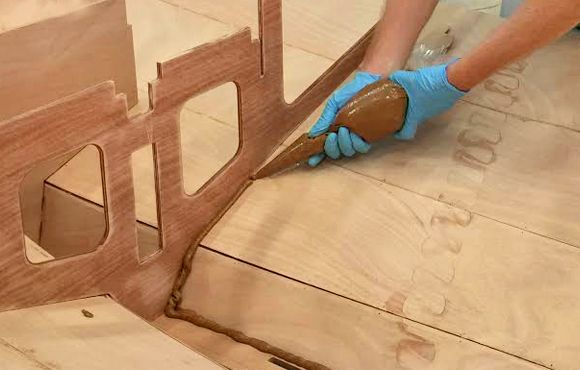
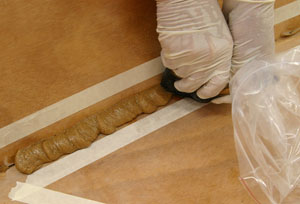
Squeeze the epoxy into the joint as if you were decorating a cake. Dispense the entire contents of the bag before you set about shaping your fillets with your filleting tools. The concentrated epoxy in the bag will generate a lot of heat, accelerating its cure. Once you've spread the epoxy out, the exothermic reaction will slow, giving you more working time.
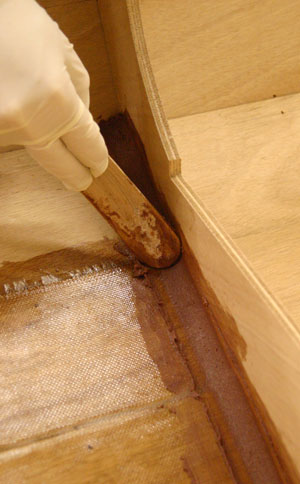
Shaping the fillets
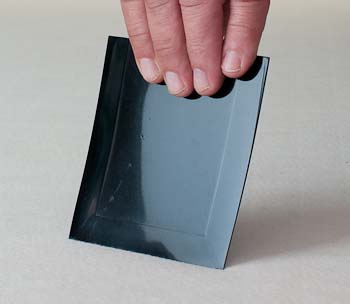
Before you begin filleting, run masking tape along both sides of all joints you are about to fillet. It will make clean-up a breeze. Once you have shaped the fillets, pull off the tape. It will take any remaining excess epoxy with it.

