Product Description
All kayaks are susceptible to wear from hard beachings. A couple of layers of fibreglass may be enough for many paddlers, but if you want serious protection for your kayak, this kit provides it.
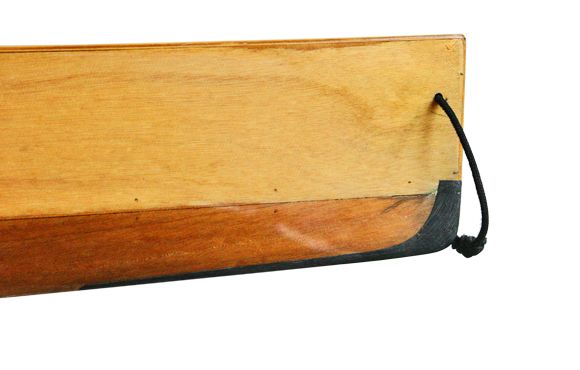
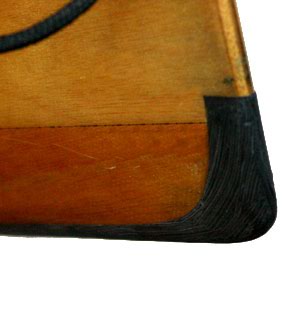
These rubstrips are made of multiple layers of hard-wearing dynel fabric set in epoxy and coated with a mixture of graphite powder and epoxy, so they are very resistant to abrasion.
The rubstrips kit can be fitted to an unfinished wooden hull during the build, or they can be retrofitted to any finished wooden or fibreglass kayak. The finished rubstrip will stand proud of the hull slightly, but a careful job will result in a neat, functional appearance that will protect the bow and stern for years.
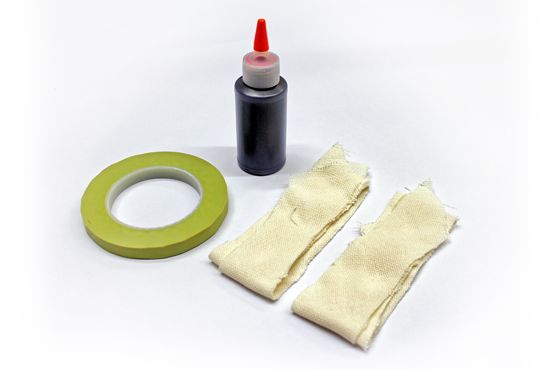
The complete rubstrip kit includes:
- Dynel fabric (four 18″ long strips; enough for one kayak)
- (optional) 0.75l epoxy kit
- Graphite powder (2 oz)
- Fineline tape
- Vinyl gloves
- Instructions
Fitting the rubstrips requires only a small amount of epoxy, so you may have enough left from building your boat to install the rubstrips as well.
Dynel strips
The dynel strips are also available separately. Four strips of 18″ dynel fabric, as included in the rubstrip kit (enough for one kayak).
Installation instructions
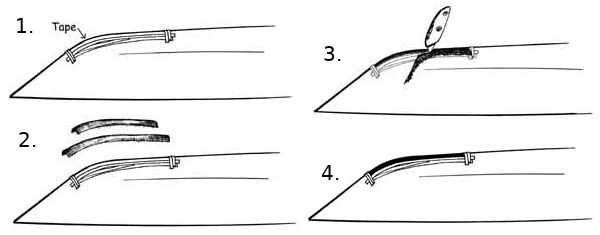
- Mark off an 18″ section of the keel on the bow and stern as shown. With fineline tape, mask the section so that no epoxy can drip down the side of the hull. Once the rubstrip area has been masked, sand down to the epoxy with a sanding block and 80-grit sandpaper. All paint and varnish must be removed on finished hulls.
- Cut two rectangular strips of Dynel, one about 18″ × 1″, the other 16″ × ¾″. It's critical that the strips of Dynel be cut on the bias; with the fibres at 45° to the long axis of the strip. This is the only way that the fabric will conform to the curve of the bow and stern. Mix up some unthickened epoxy and brush it onto the prepared surface of the bow or stern. Press the first layer of Dynel into the wet epoxy, brush on a little more epoxy, then apply the second layer. Add epoxy until the Dynel is completely saturated.
- The loosely woven Dynel frays easily, so it's very likely you'll have rough edges. When the epoxy has dried, use a sharp knife to trim carefully along the edge of the masking tape. With your sanding block and 80-grit sandpaper, smooth the overlapping edges of fabric.
- Mix graphite powder with epoxy until you have a mustard consistency. Fill the weave of the Dynel with the graphite/epoxy mix. The graphite/epoxy likes to sag, so it may take several thin applications before you've completely coated the Dynel and achieved a uniform black finish on the rubstrip.
Recommended Products
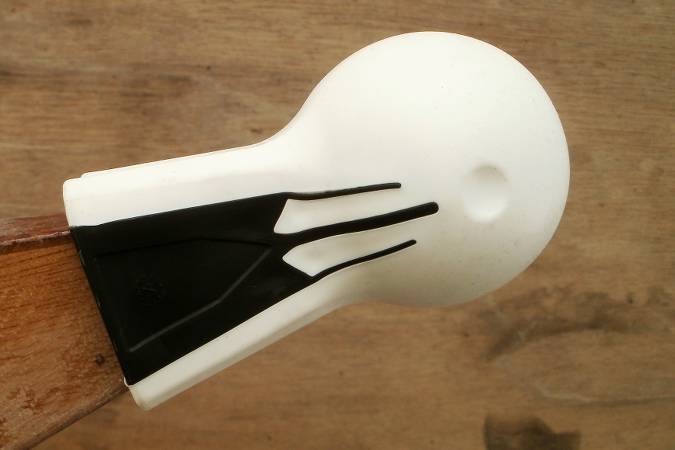
Point Protector
Spherical bumpers to protect the sharp points of a kayak or small boat from collision damage.
Graphite Powder
Graphite powder for adding to mixed epoxy to produce a tough low-friction coating for rudders, centreboards and the bottoms of small boats.