














Product Description
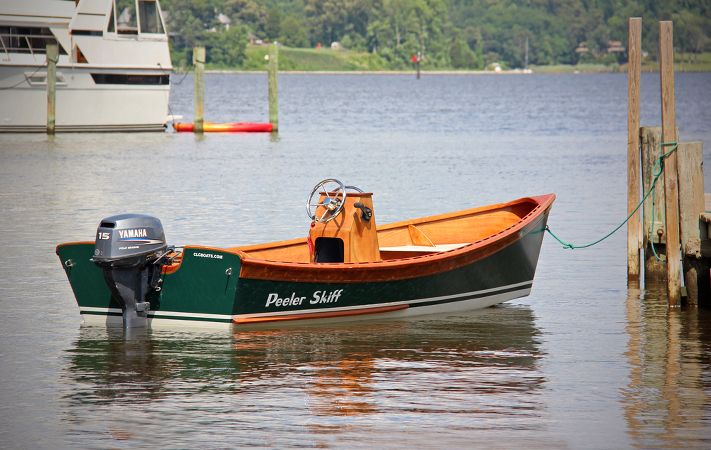
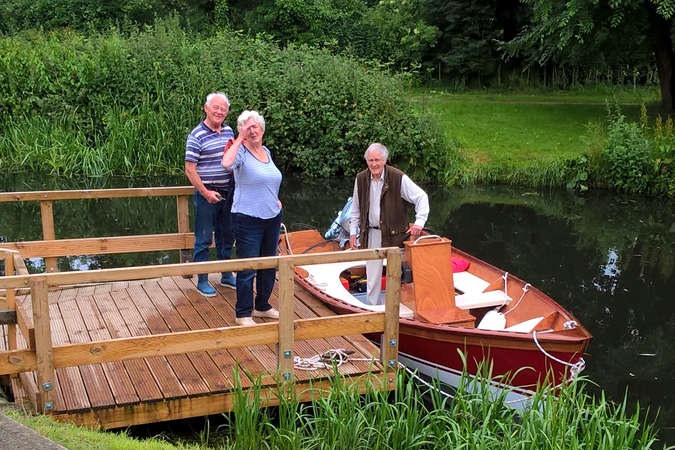
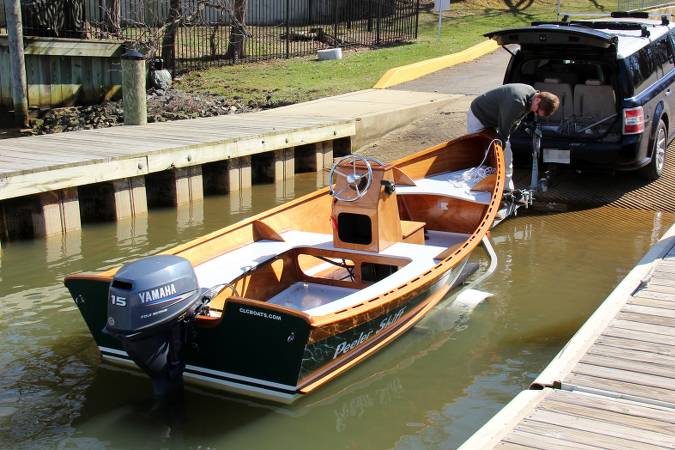
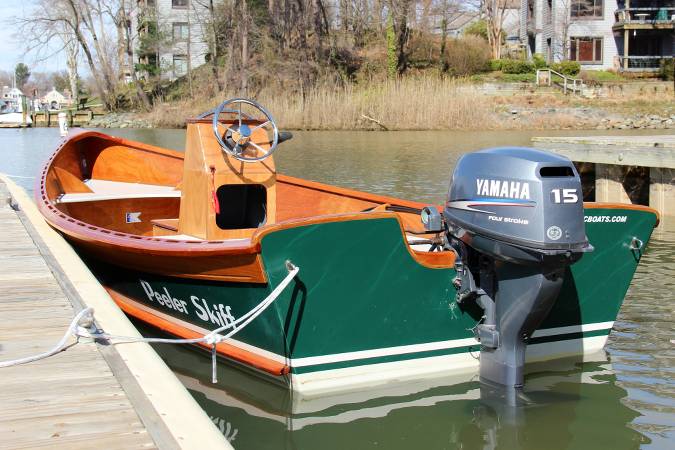
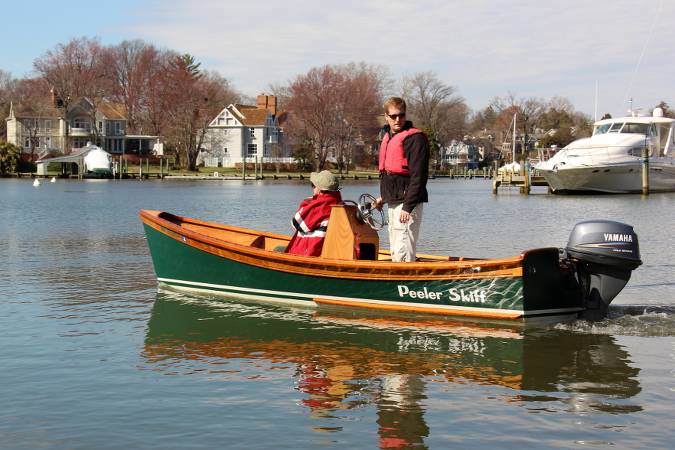
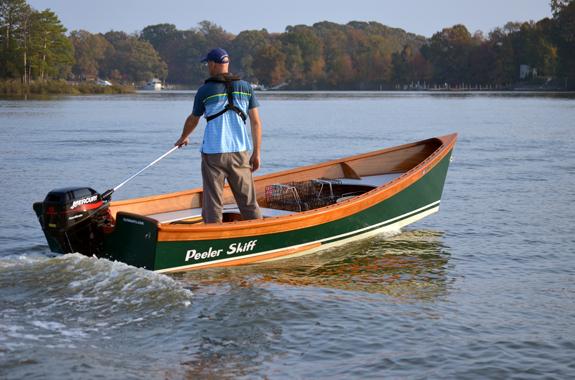
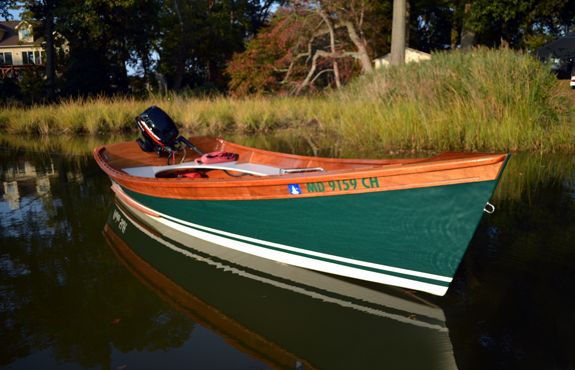
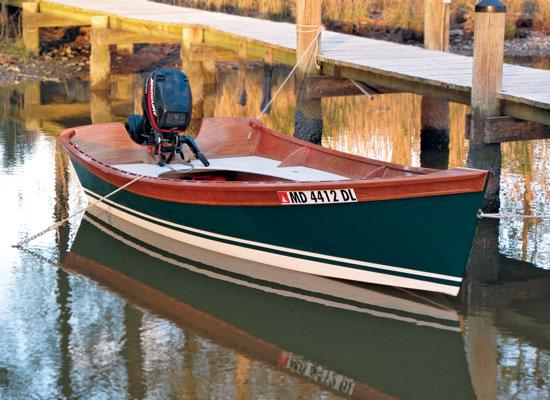
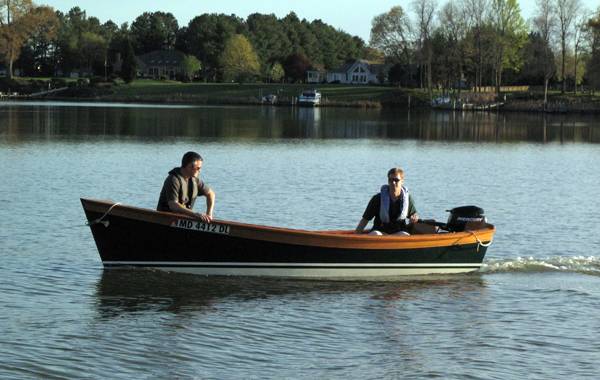
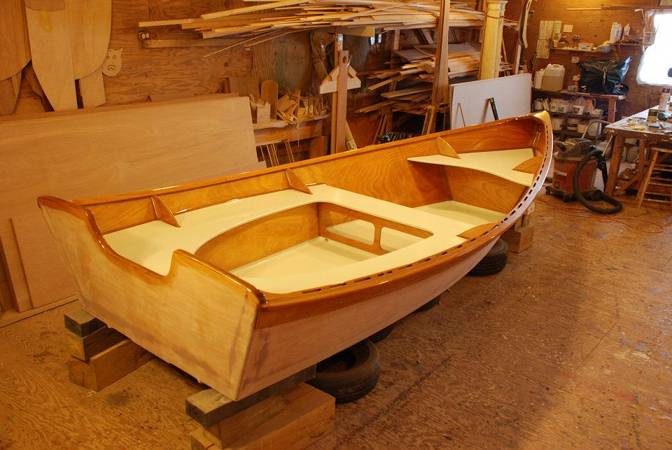
John C. Harris designed this light but sturdy 15 foot motor boat. It is a crab skiff and it's called the ‘Peeler’ after the Chesapeake slang for a local delicacy, soft-shell crabs.
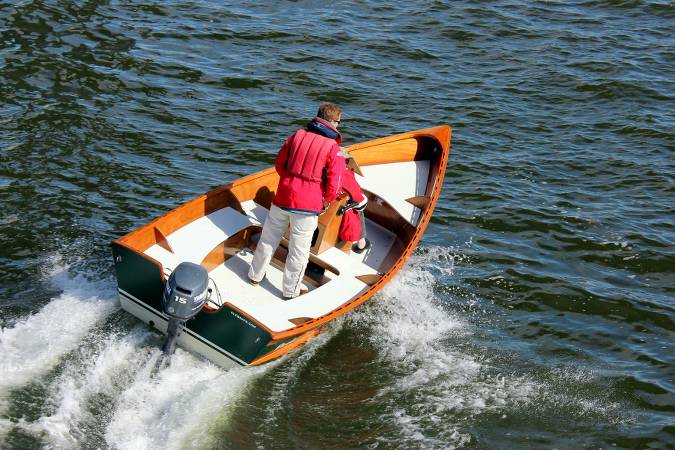
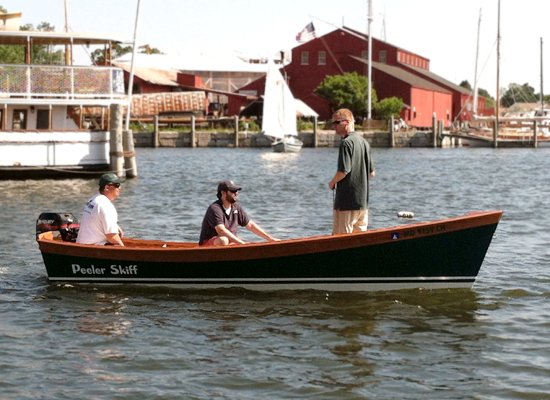
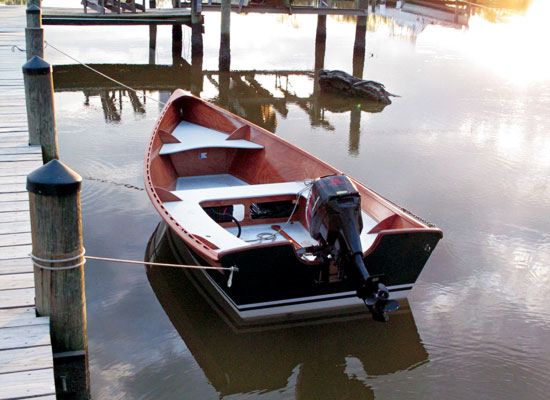
The Peeler is intended for small outboards of 8 to 15 HP. With monumental stability and a big, open interior, it's just the thing for crabbing, fishing, exploring, or just knocking around. Capacity is four adults.
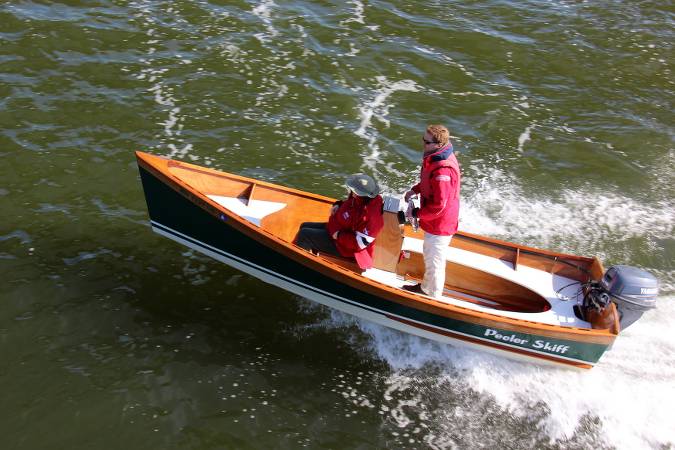
The flat bottom maximises initial stability for casting or working traps, while making the hull extremely easy to build and easy to drive. A 15 HP motor yielded 23 knots on the GPS in flat water, but that's not a great use for the Peeler. At half throttle or with a smaller outboard, the boat's ‘sweet spot’ is 11-12 knots with a full load of passengers or gear, burning scarcely any fuel. The boat planes readily with an 8 HP and two adult passengers.
The Peeler Skiff is designed for a long-shaft outboard (20 inches). It could certainly be driven by sail power, but it is optimised for an outboard motor and we won't be offering any plans or instructions for adding a sailing rig. It is light enough to be rowed effectively, but you'll need 9-foot oars.
The Peeler Skiff's displacement is about 1300 pounds, giving it a maximum payload of about 1000 pounds (450 kg), including people, motor, fuel, battery and gear.
The Peeler Skiff is comfortable and safe in big waves, if you slow down. Flat-bottomed power skiffs go back a hundred years and they will always bring you home if the skipper exercises proper seamanship. We found that the Peeler Skiff can be kept on a plane in the typical wind chop found in the lakes, bays, and rivers that are its natural habitat. The Peeler Skiff is above all a practical, fun, and safe boat that's easy to build.
The Peeler Skiff has enjoyed a long and very careful period of development. The two prototypes led to a thickened bottom to eliminate flex at 15 HP and to improve handling in chop. Other minor tweaks included the addition of spray rails aft and the extension of bottom skids further forward. Extensive certification tests were performed by the US Coast Guard.
Construction
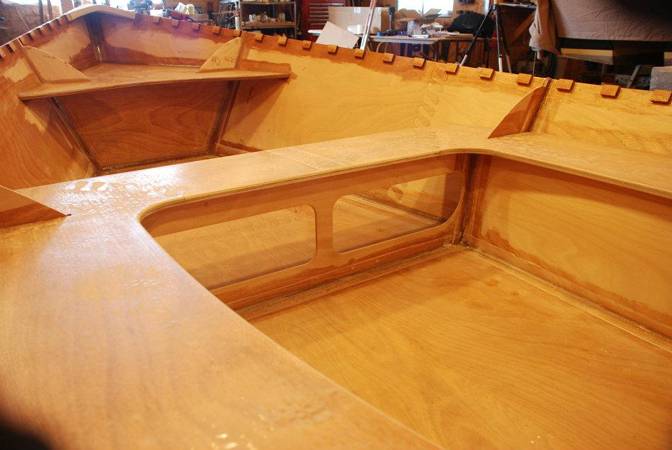
The kit is intricately thought out, with all kinds of slot-together refinements for quick building. The prototype went together lickety-split in Geoff Kerr's Two Daughters Boatworks shop. From plans, it's just 9 sheets of plywood, give or take, a bit of timber for the rails, and a roll of fibreglass.
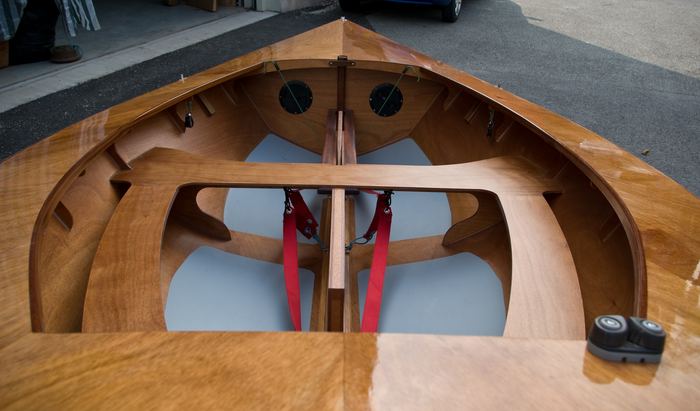
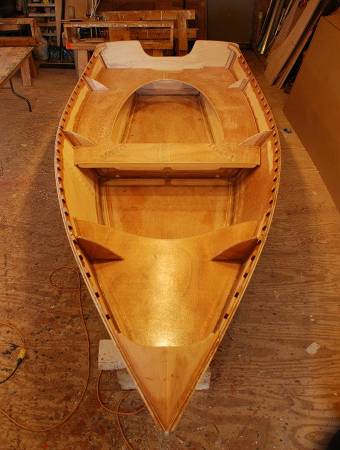
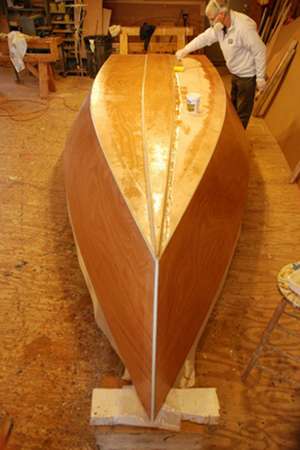
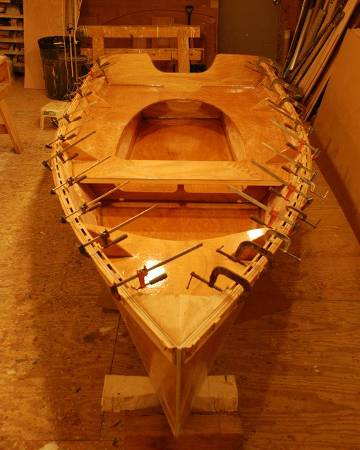
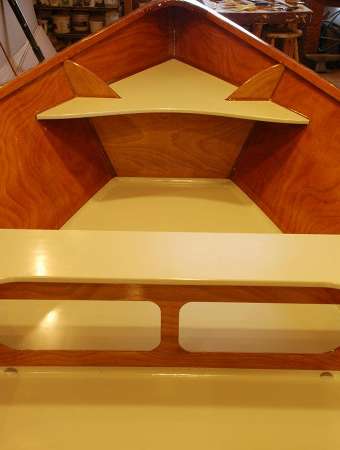
Kit builders assemble the computer-cut sides and bottom with puzzle joints, stitch the hull together, drop bulkheads into slots cut by the computer, then apply layers of epoxy and fibreglass for stiffness. Foam-filled flotation tanks fore and aft are part of the hull structure and provide over 1200 lb of positive flotation.
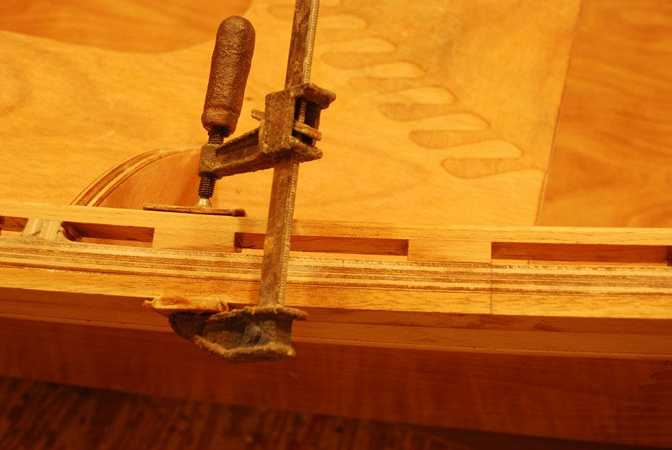
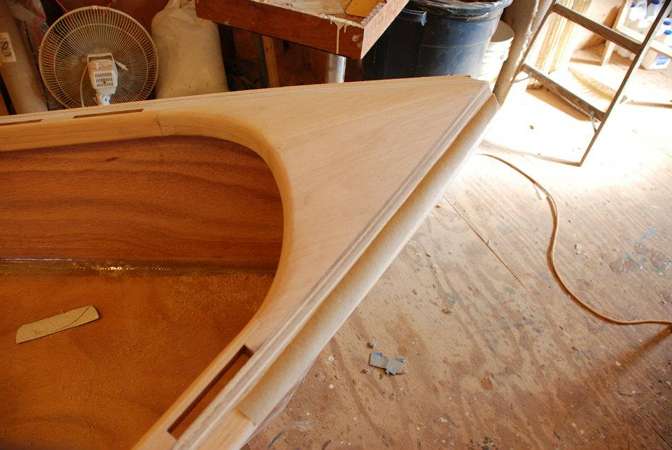
This is a bigger project than a kayak or a sailing dinghy. We estimate that the Peeler Skiff will take 200 hours to build. It is very easy boatbuilding, but a lot more surface area to handle. Nearly every surface is sheathed in epoxy and fibreglass, so there's a lot of that. Also, the addition of broken inwales will require a little bit more woodworking skill – but we think it's worth it. The Peeler Skiff is within reach of a first-time boatbuilder who has a little bit of experience with epoxy and with woodworking.
The kit includes:
- Pre-cut wooden panels with pre-cut joints and pre-drilled tie holes
- Solid Sapele for rails, inwales and trim
- Solid Ash for bottom skids
- Epoxy resin and activator
- Epoxy fillers
- Copper ties
- Woven glass fabric
- Woven glass tape
- Comprehensive building manual
- Free technical support from a competent builder
Foam for filling the buoyant tanks is not included.
This kit weighs a lot and requires a specialised courier. The price of delivery will vary with your address. You are, of course, very welcome to collect the kit from our Lake District workshop.
Centre console option
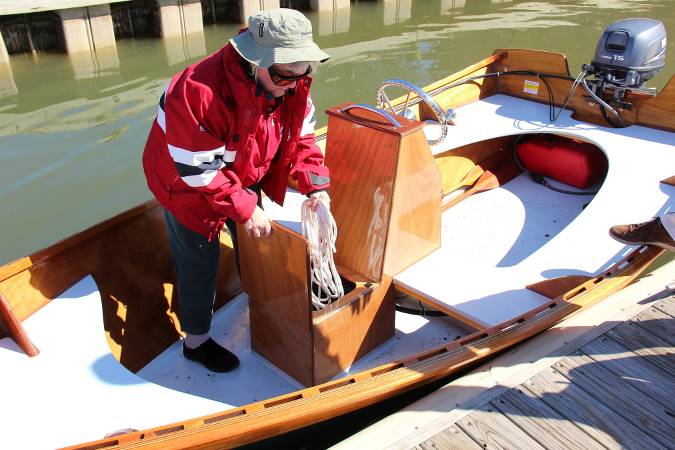
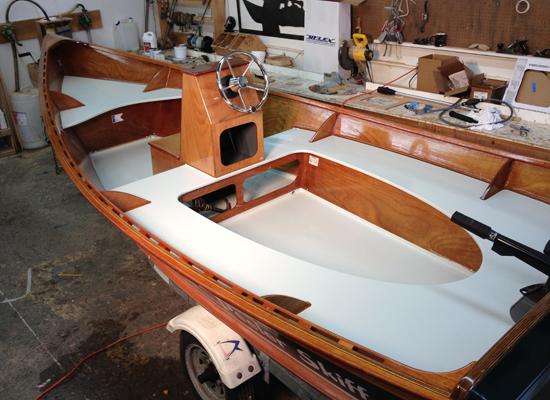
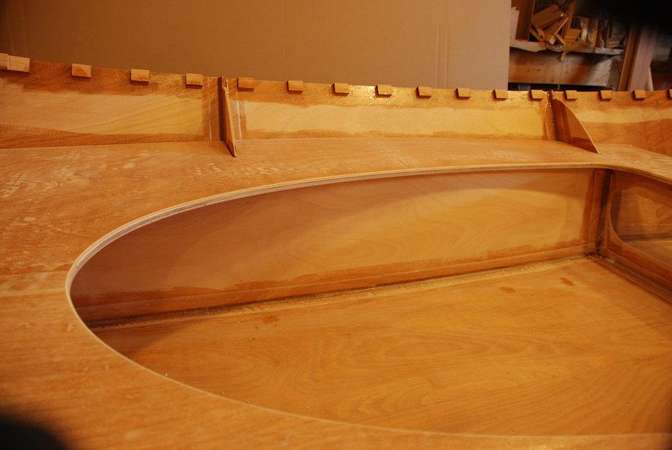
The centre console option provides a place to mount a steering wheel, throttle and other controls in the Peeler Skiff. The front of the console provides a passenger seat with a large storage compartment beneath a hinged lid. It's a functional and good-looking upgrade for greater comfort.
The result of several prototypes and careful ergonomic study, this centre console is sleek, strong and neatly integrated into the Peeler Skiff's interior layout.
Designed as a retrofit package to be added to an existing Peeler Skiff, the centre console may also be incorporated from the beginning during hull assembly. It's built with the same 9 mm okoume marine plywood, stitched-and-glued together with epoxy and sheathed in fibreglass. It is secured permanently to the hull with epoxy fillets and fibreglass, contributing noticeably to the overall stiffness of the hull.
The centre console kit includes:
- Pre-cut wooden panels
- Woven glass fabric
- Woven glass tape
- Building instructions
- Free technical support from a competent builder
The steering wheel, throttle and other engine controls are not included. Peeler builders working from a kit may have enough epoxy left to complete the centre console, but might need to order additional epoxy.
Plans and manual
The manual is the same one that is included in the kit. It describes all of the techniques that will be used during the build and also a step by step guide to construction. Scale drawings are used throughout as well as photographs of critical jobs.
The plans include full-size drawings for every part in the boat and detailed instructions on shopping for materials and fabricating parts. The plans and manual contain sufficient information on the cutting of the panels to make it possible to build the boat from scratch rather than a kit.
Study manual
This is intended for pre-build study or to help with the decision to purchase the kit. Reading this manual will help you decide whether or not you can build the boat kit. It is the manual that accompanies the kit. If, later, you decide to purchase the kit the cost of this printed manual will be deducted from the kit price.
This manual does not contain the plans of the panels with the cutting instructions so it is not possible to build the boat from scratch using only this manual.
PDF study manual
The construction manual for the boat is also available as a PDF download. After credit card authorisation a download link will be sent to the email address put on the order form.
PDF study plans
These study plans are intended to give you an overview of the construction of the boat. They are in PDF format that can be viewed using Adobe Reader. There are two pages and they measure 279 × 216 mm (11″ × 8½″). They can be printed for carrying around.
After credit card authorisation the plans will be sent to the email address put on the order form.
When you have studied the plans, your next step might be to order the printed instruction manual, which will walk you through the project step-by-step.


